【WEEK1】 【DAY5】First MVC Program: Configuration File【English Version】
2024.3.1 Friday
Table of Contents
- 3. First MVC Program
- 3.1 Configuration files
- 3.1.1. Create a new module
- 3.1.2. Modify web.xml, add content
- 3.1.3. Write the SpringMVC configuration file
- 3.1.4. Add handler mappings, handler adapters, and view resolvers
- 3.1.5. Write specific business operations
- 3.1.6. JSP page to jump to, display the data stored in ModelAndView, and the normal page
- 3.1.7. Register your own class with the Spring IOC container, register bean
- 3.1.8. Configure Tomcat, Start Testing
- 3.1.9. Common Issues: Encountering a 404 Error, Troubleshooting Steps
3. First MVC Program
3.1 Configuration files
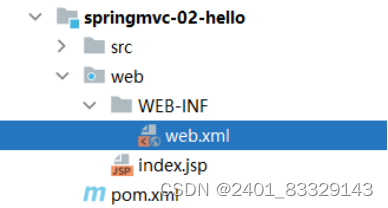
3.1.1. Create a new module
Create a new module named springmvc-02-hello and add web support
3.1.2. Modify web.xml, add content
<?xml version="1.0" encoding="UTF-8"?>
<web-app xmlns="http://xmlns.jcp.org/xml/ns/javaee"
         xmlns:xsi="http://www.w3.org/2001/XMLSchema-instance"
         xsi:schemaLocation="http://xmlns.jcp.org/xml/ns/javaee http://xmlns.jcp.org/xml/ns/javaee/web-app_4_0.xsd"
         version="4.0">

    <!--1. Register DispatcherServlet-->
    <servlet>
        <servlet-name>springmvc</servlet-name>
        <servlet-class>org.springframework.web.servlet.DispatcherServlet</servlet-class>
        <!--Associate a springmvc configuration file: 【servlet-name】-servlet.xml-->
        <init-param>
            <param-name>contextConfigLocation</param-name>
            <param-value>classpath:springmvc-servlet.xml</param-value>  <!--Need to write a configuration file-->
        </init-param>
        <!--Startup level-1-->
        <load-on-startup>1</load-on-startup>
<!--   the above should be ignored at this time     -->

    </servlet>

    <!--/ Matches all requests except .jsp-->
    <!--/* Matches all requests including .jsp-->
    <servlet-mapping>
        <servlet-name>springmvc</servlet-name>  <!--All requests will go through this-->
        <url-pattern>/</url-pattern>
    </servlet-mapping>

</web-app>
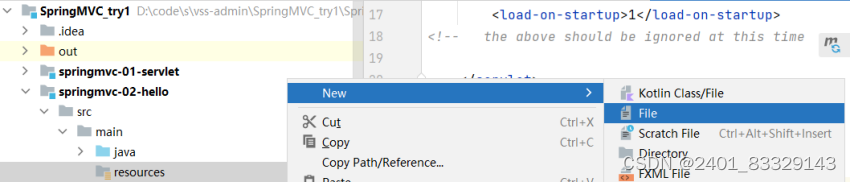
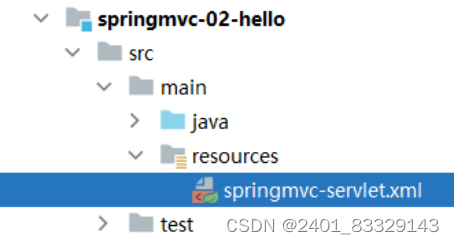
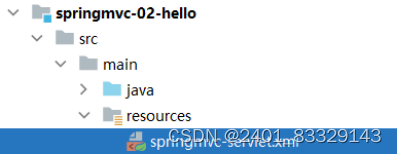
3.1.3. Write the SpringMVC configuration file
Name: springmvc-servlet.xml: [servletname]-servlet.xml
Note that the name should follow the official convention
3.1.4. Add handler mappings, handler adapters, and view resolvers
Complete code located at 3.1.7
<!--Configure three classes: can be directly reused-->

    <!--  Handler Mapping  -->
    <bean class="org.springframework.web.servlet.handler.BeanNameUrlHandlerMapping"/>

    <!--  Handler Adapter -->
    <bean class="org.springframework.web.servlet.mvc.SimpleControllerHandlerAdapter"/>

    <!--View Resolver: DispatcherServlet gives it the ModelAndView-->
    <bean class="org.springframework.web.servlet.view.InternalResourceViewResolver" id="InternalResourceViewResolver">
        <!--Prefix-->
        <property name="prefix" value="/WEB-INF/jsp/"/>
        <!--Suffix-->
        <property name="suffix" value=".jsp"/>
    </bean>
3.1.5. Write specific business operations
Write our business Controller, either implement the Controller interface or add annotations; need to return a ModelAndView, pack data, seal the view;
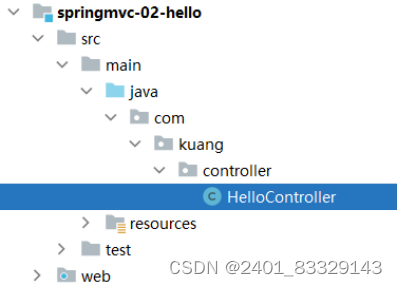
package com.kuang.controller;

import org.springframework.web.servlet.ModelAndView;
import org.springframework.web.servlet.mvc.Controller;

import javax.servlet.http.HttpServletRequest;
import javax.servlet.http.HttpServletResponse;

public class HelloController implements Controller {    //Choose the interface type for the imported Controller
//    Implementing a controller interface allows handling of request and response
    public ModelAndView handleRequest(HttpServletRequest request, HttpServletResponse response) throws Exception {
        //ModelAndView model and view
        ModelAndView mv = new ModelAndView();

        //Encapsulate the object, put it in ModelAndView. Model
        mv.addObject("msg","HelloSpringMVC!");
        //Encapsulate the view to jump to, put it in ModelAndView
        mv.setViewName("hello"); //: /WEB-INF/jsp/hello.jsp
        return mv;
    }
}
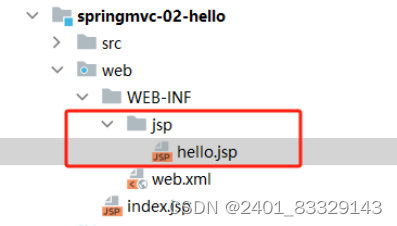
3.1.6. JSP page to jump to, display the data stored in ModelAndView, and the normal page
Create a folder named jsp, hello.jsp file
<%@ page contentType="text/html;charset=UTF-8" language="java" %>
<html>
<head>
    <title>Title</title>
</head>
<body>
    ${msg}  <!--Able to take out the message from the control: mv.addObject("msg","HelloSpringMVC!");-->
</body>
</html>
3.1.7. Register your own class with the Spring IOC container, register bean
The bold part is newly added in this section, the rest are the previous two sections
Here is the translated content into English:
<?xml version="1.0" encoding="UTF-8"?>
<beans xmlns="http://www.springframework.org/schema/beans"
       xmlns:xsi="http://www.w3.org/2001/XMLSchema-instance"
       xsi:schemaLocation="http://www.springframework.org/schema/beans
       http://www.springframework.org/schema/beans/spring-beans.xsd">

<!-- Configure three classes: can be reused directly -->

    <!--  Handler Mapping  -->
    <bean class="org.springframework.web.servlet.handler.BeanNameUrlHandlerMapping"/>

    <!--  Handler Adapter -->
    <bean class="org.springframework.web.servlet.mvc.SimpleControllerHandlerAdapter"/>

    <!-- View Resolver: ModelAndView given by DispatcherServlet -->
    <bean class="org.springframework.web.servlet.view.InternalResourceViewResolver" id="InternalResourceViewResolver">
        <!-- Prefix -->
        <property name="prefix" value="/WEB-INF/jsp/"/>
        <!-- Suffix -->
        <property name="suffix" value=".jsp"/>
    </bean>

    <!-- Handler -->
    <bean id="/hello" class="com.kuang.controller.HelloController"/>
    <!-- When requesting hello, it is called from Spring rather than from web.xml -->
</beans>
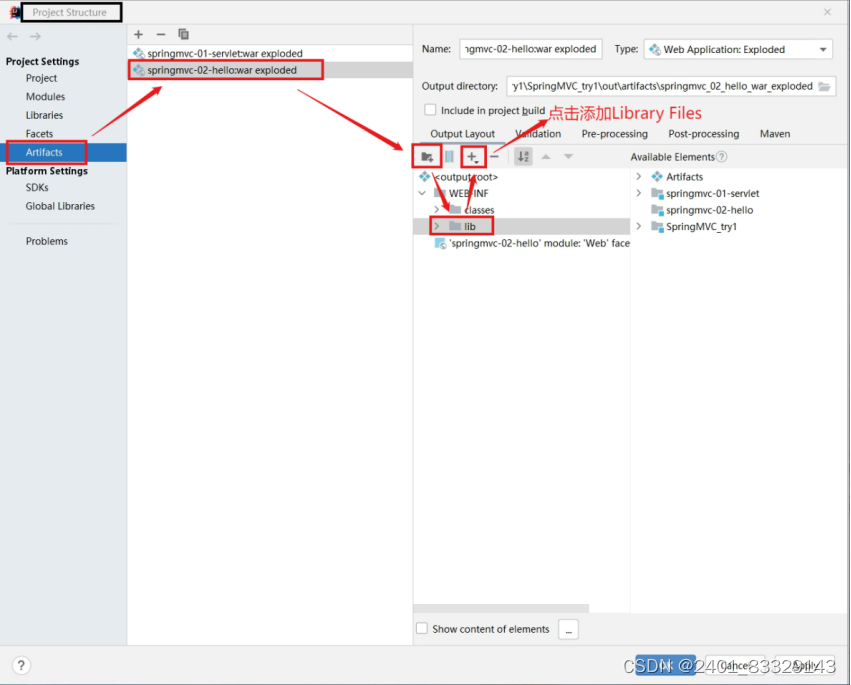
3.1.8. Configure Tomcat, Start Testing
If you encounter a 404 error, you need to create a new directory under File - Project Construction - Artifacts - ‘springmvc-02-hello:war exploded’ - WEB-INF: name it lib - Add Library Files and select all contents that are present, then click apply.
http://localhost:8080/springmvc_02_hello_war_exploded/hello

3.1.9. Common Issues: Encountering a 404 Error, Troubleshooting Steps
- Check the console output to see if there are any missing jar files.
- If the jar files exist but cannot be found, add the lib dependencies in the IDEA project deployment!
- Restarting Tomcat should solve the problem!
- Return to
2.3.The execution principle of SpringMVCfor a deeper understanding.